You can add, edit, and delete new users and assign them to projects using our “User management” feature.
1. To access this part, click on the “Settings” icon in the top right corner and go to the “User management” section.
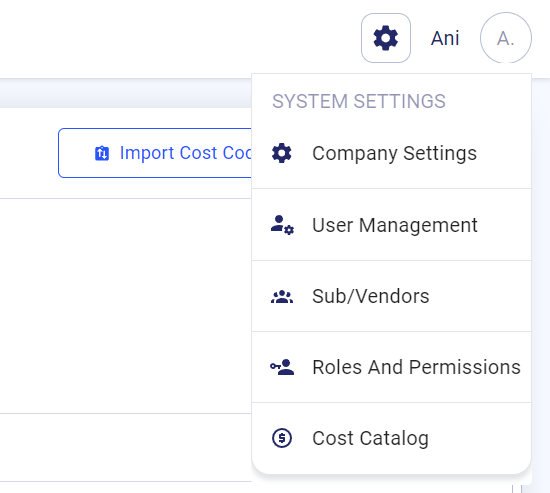
Here you will see the list of your current users.
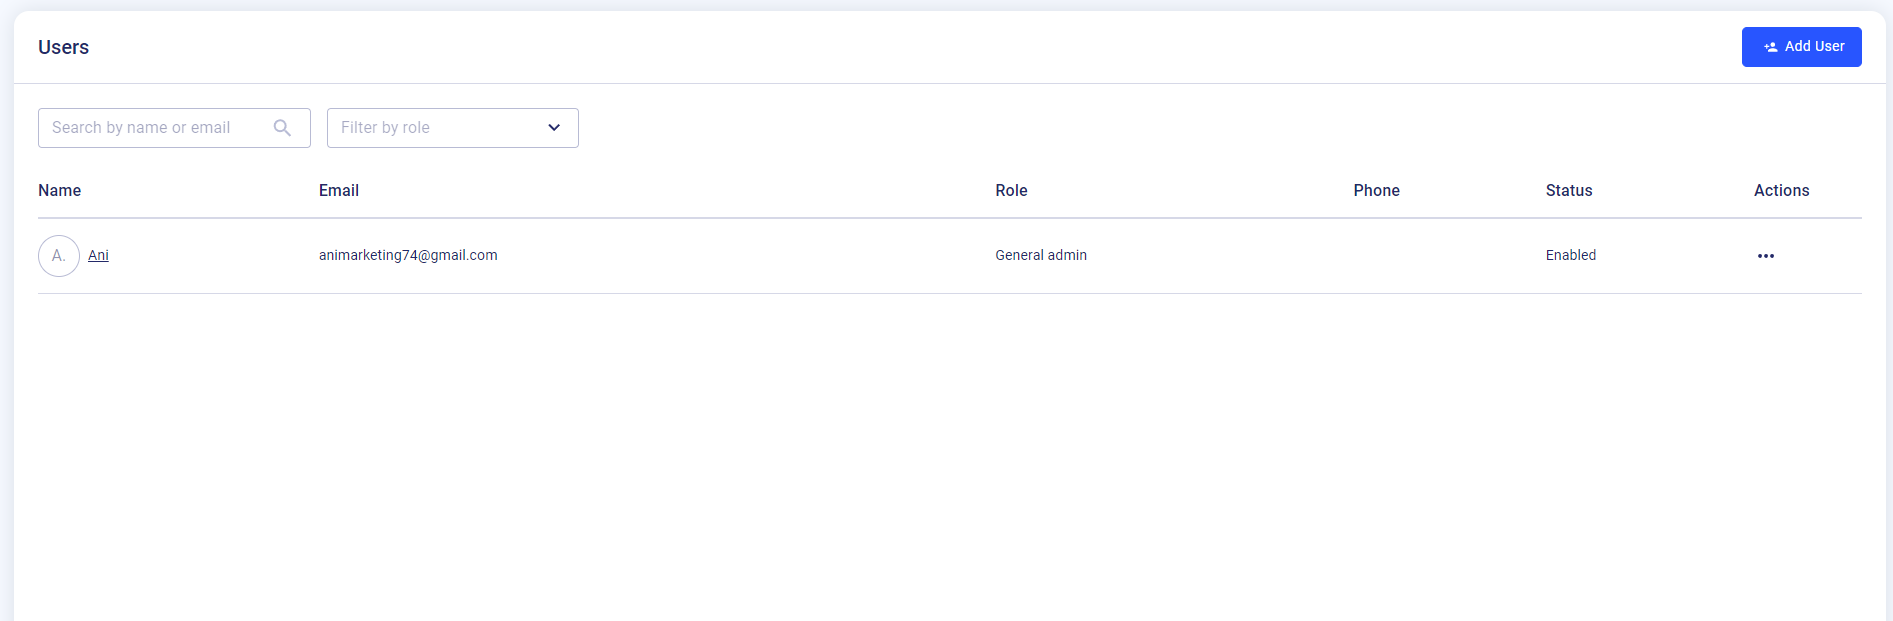
2. To add a new user, click the “Add user” button.
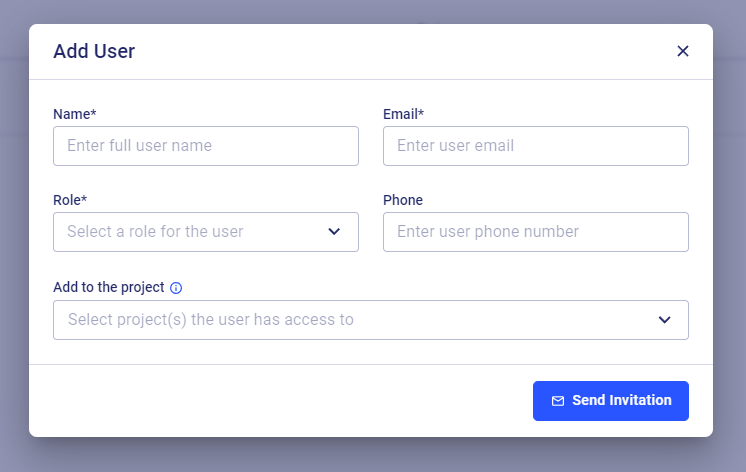
3. Add the following data:
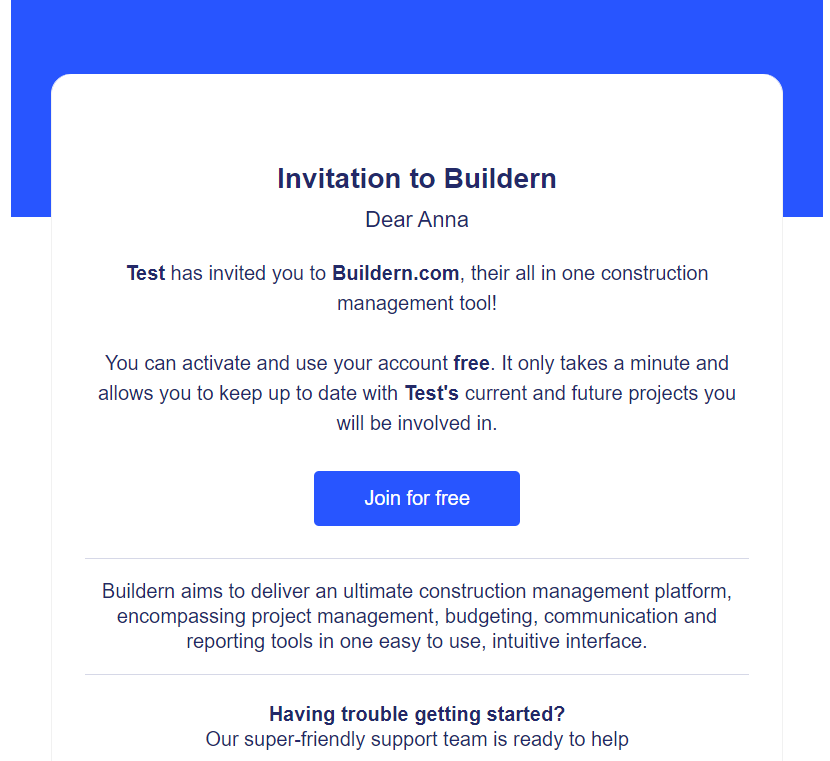
- Enter a full user name (Required)
- Enter user email (Required)
- Select the role for the user (Required)
- Enter the user's phone number (Optional)
Disabling / Editing / Deleting Users
Apart from adding new users, you have the ability to temporarily disable, edit or delete them.
1. To disable a user, click three dots in the right corner and choose “Disable”. After clicking it, the user won’t have access anymore. You can enable the user at any time.

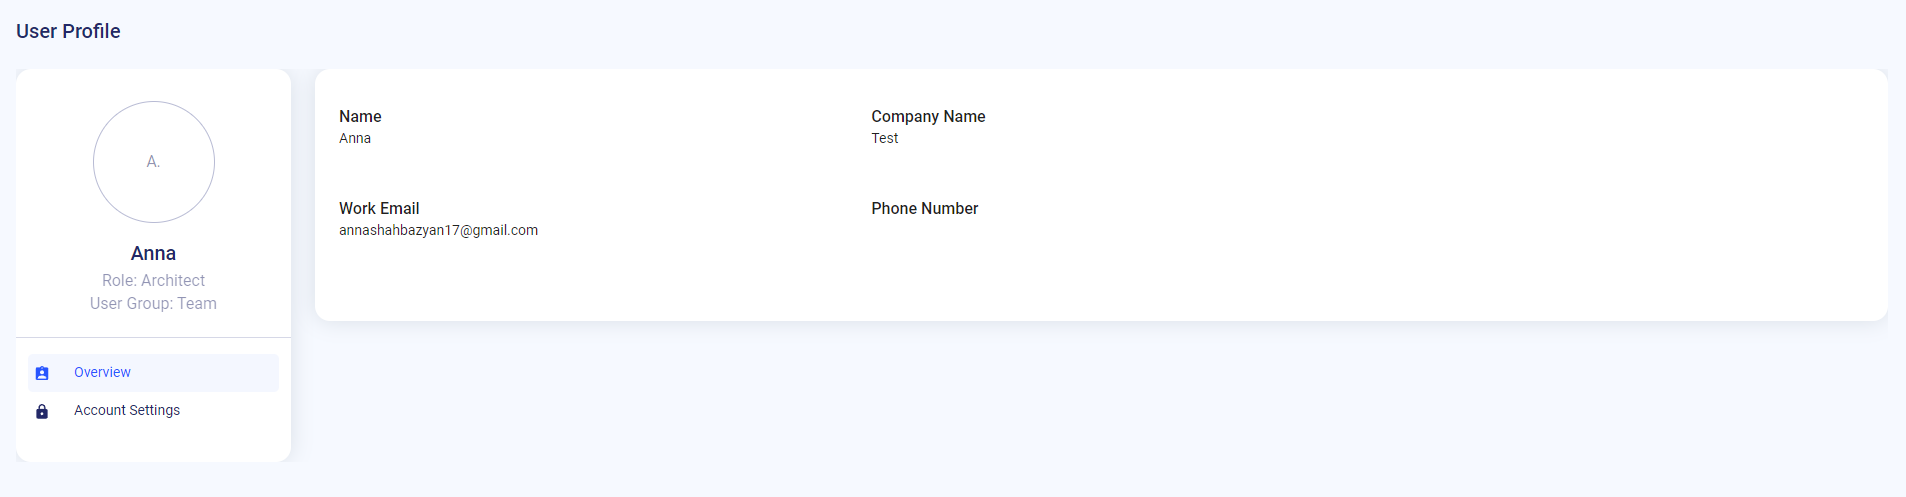
2. To edit a user, click “Edit” and the user’s profile will pop up. Then click “Account settings” and make the necessary changes.
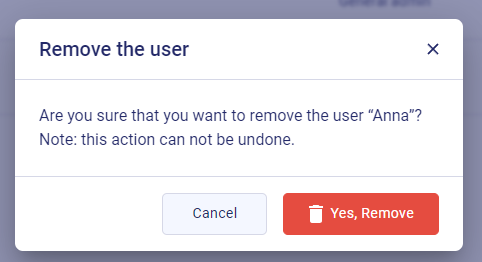
3. To remove a user, click “Delete” and confirm.
If you have any questions or require additional support, feel free to contact us: Send an email: support@buildern.com, or give us a call at +1 (650) 334-0378. We’re always happy to help you.